I grew up camping in a pop-up, all over the US. Before kids, we had tent camped a few times. After kids, I really wanted them to experience camping like I did when I was young and began pushing to get a camper. My husband was not 100% on board, so I convinced him to purchase a small, used pop-up camper. We purchased Beau in May 2017. It was older but was in really great shape (just a bit dated). We camped with it as is for 2 years and then the projects began. I knew I wanted to update things but was not sure how or even where to start. I began scouring Pinterest and came across The Pop-Up Princess (https://www.thepopupprincess.com/). Her blog and posts gave us a lot of information and inspiration. I knew this was easily something that Chad and I could take on, so we opened him up in the garage and got to work. We tackled this project in a couple of different phases. After we completed phase 1, we camped for a season and made notes about what we wanted to change, improve and add. Phase 2 was completed this past winter and so far, the improvements made have been what was needed.
PHASE 1:
The first thing we did was give everything a good cleaning. Next, Chad removed the bench seating around the table. Then we got to work sanding down all of the cabinets. We took off all the doors and drawer faces. Then we got to priming. We used Zinsser primer(https://www.lowes.com/pd/Zinsser-B-I-N-Interior-Multi-Purpose-Shellac-Wall-and-Ceiling-Primer-Actual-Net-Contents-32-fl-oz/3610422) as recommended in several posts. The cabinets and the walls (anything that was oak) all got primed. We applied 2 coats of primer to make sure that the oak undertones were gone. Then we got to painting. I knew I wanted a light and airy feel, so we went with “Stony Path”. We used Valspar Cabinet and furniture paint from Lowes (https://www.lowes.com/pd/Valspar-Cabinet-Enamel-Base-1-Semi-Gloss-Enamel-Tintable-Interior-Paint-Actual-Net-Contents-124-fl-oz/999918096). We applied 3 coats of paint (letting everything dry for at least 24 hours in between coats). Next up were the counter tops. We debated how we were going to tackle this: laminate vs painting. In the end, painting won out. I decided to keep things in the gray family, going about 3 shades darker. We used Rust-oleum countertop paint, again from Lowes (https://www.lowes.com/pd/Rust-Oleum-Specialty-Light-Base-Satin-Countertop-Resurfacing-Kit-Actual-Net-Contents-29-fl-oz/50150246). There are 12 tint options available. This stuff is really strong smelling, so make sure you are in a well-ventilated area. 3 coats seemed to be the magic number. We also decided to use this to paint the shower top, table and the front of the fridge. Once everything was dry, I applied 2 coats of clear coat poly to anything that got painted. We changed out all the hardware and cabinet pulls to a satin nickel to complete the cabinets.
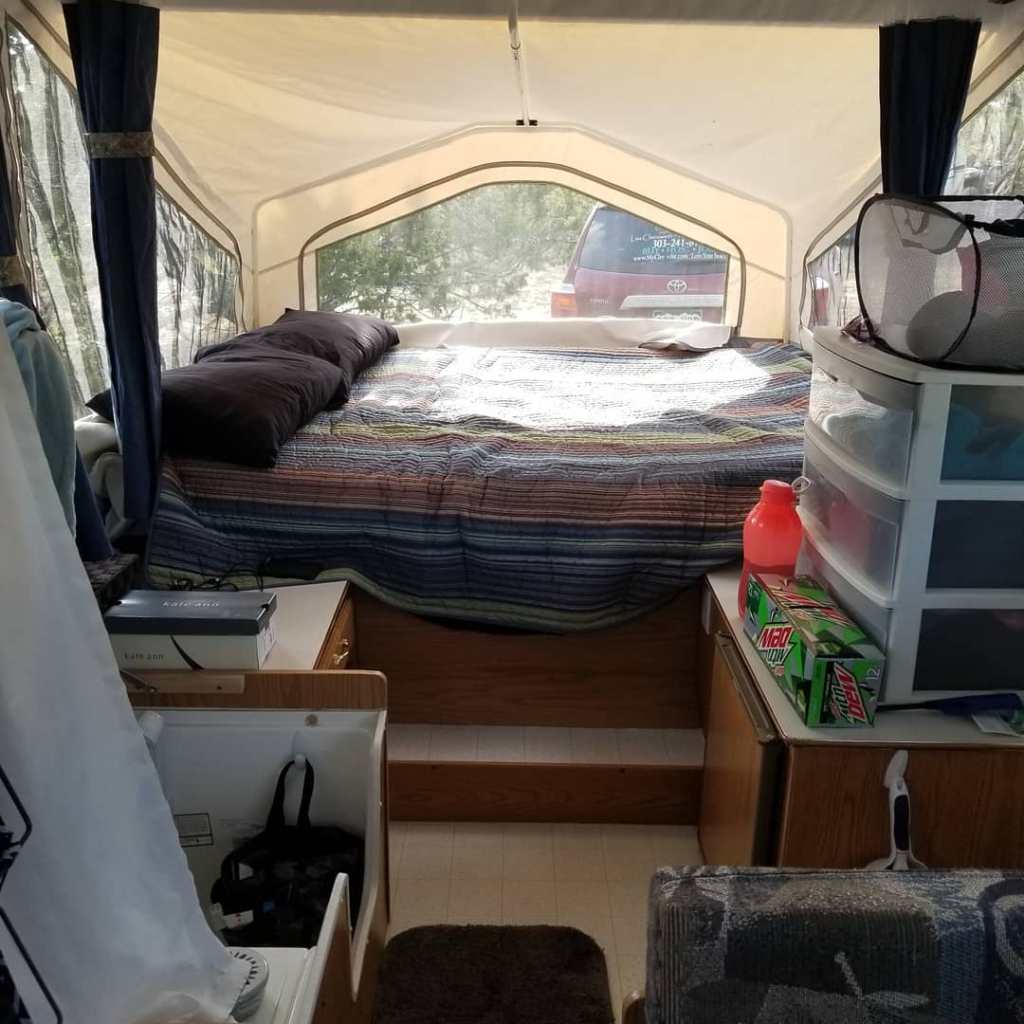
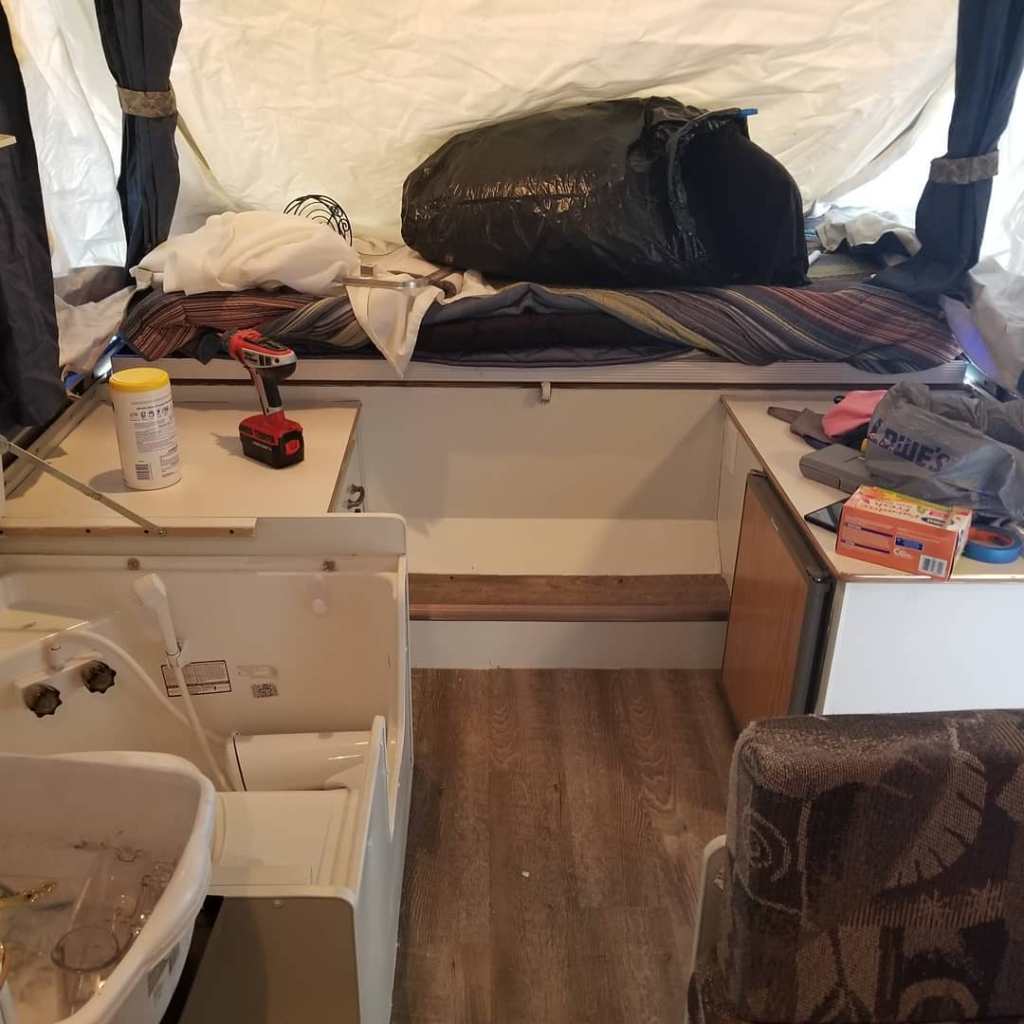
This is what Beau looked like when we first got him 
This is what Beau looked like when we first got him 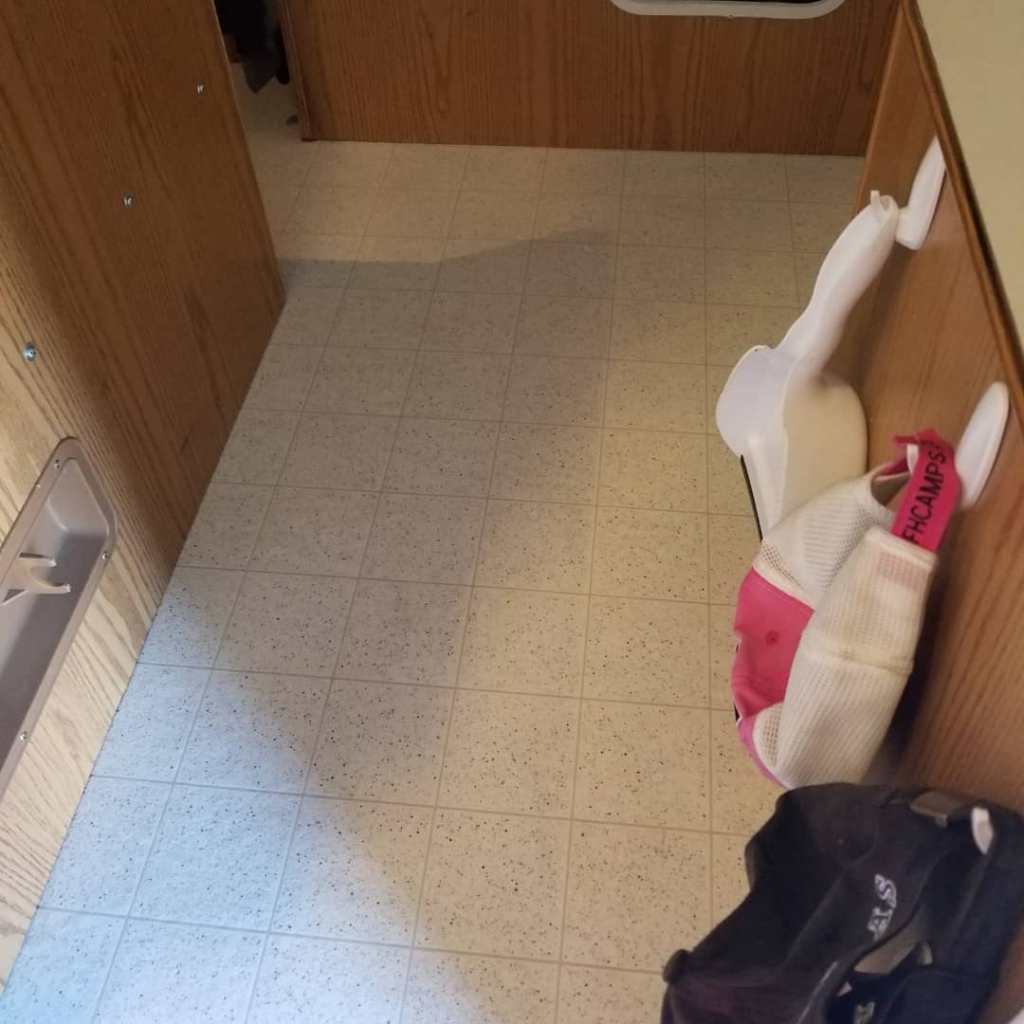
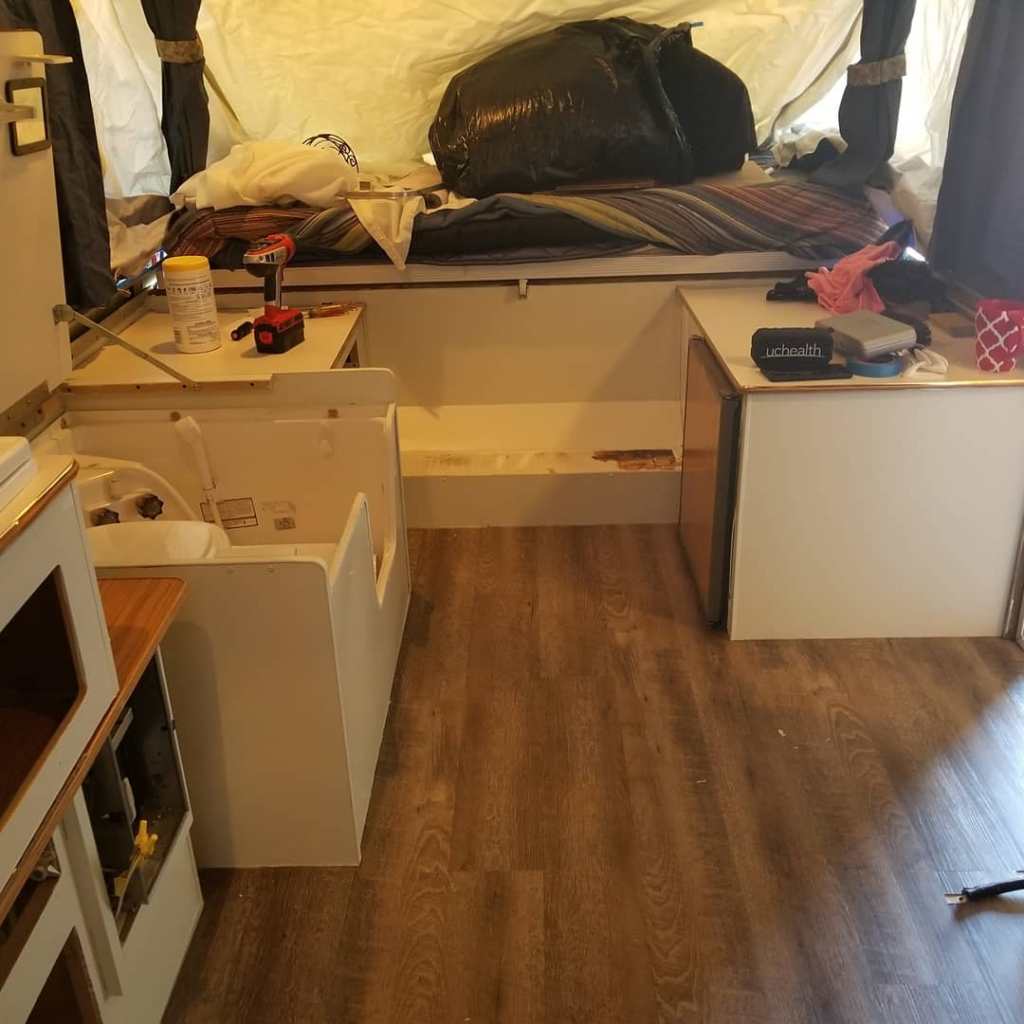
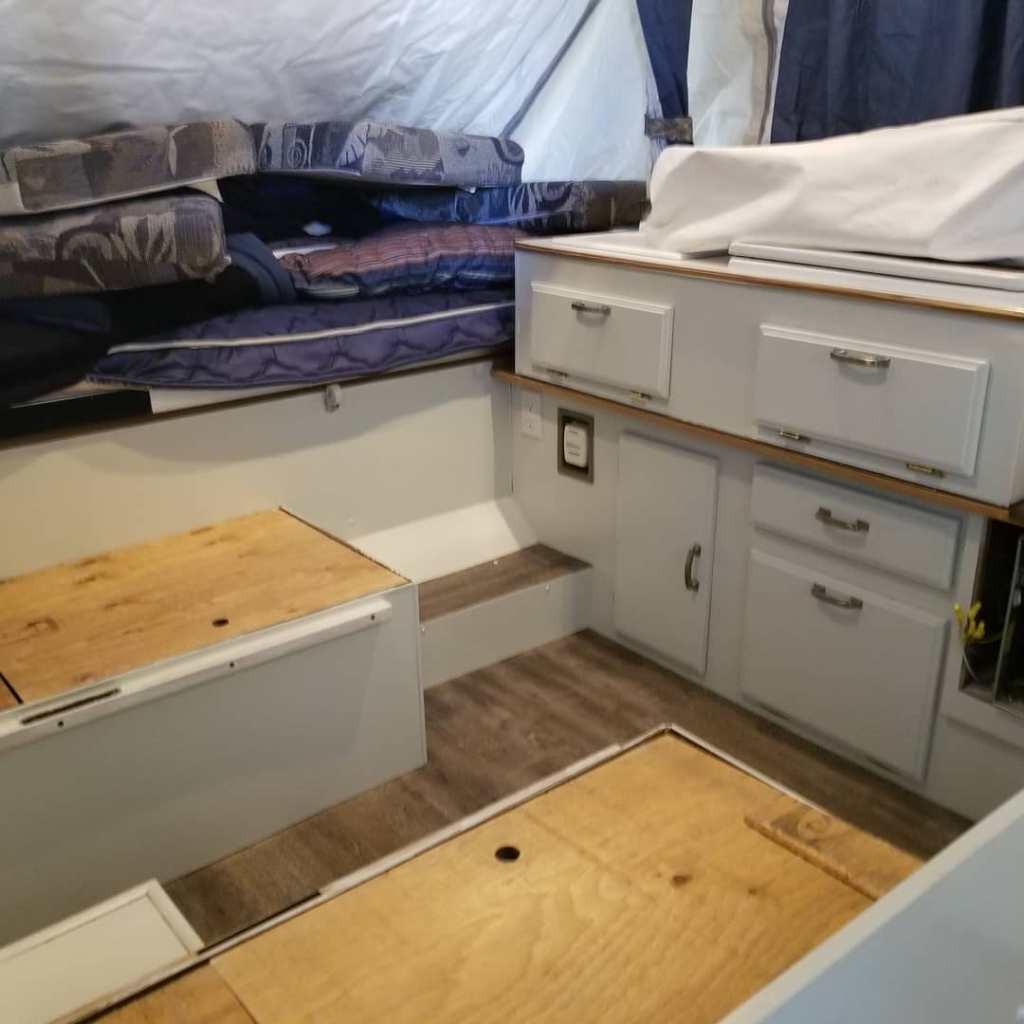
Before…flooring 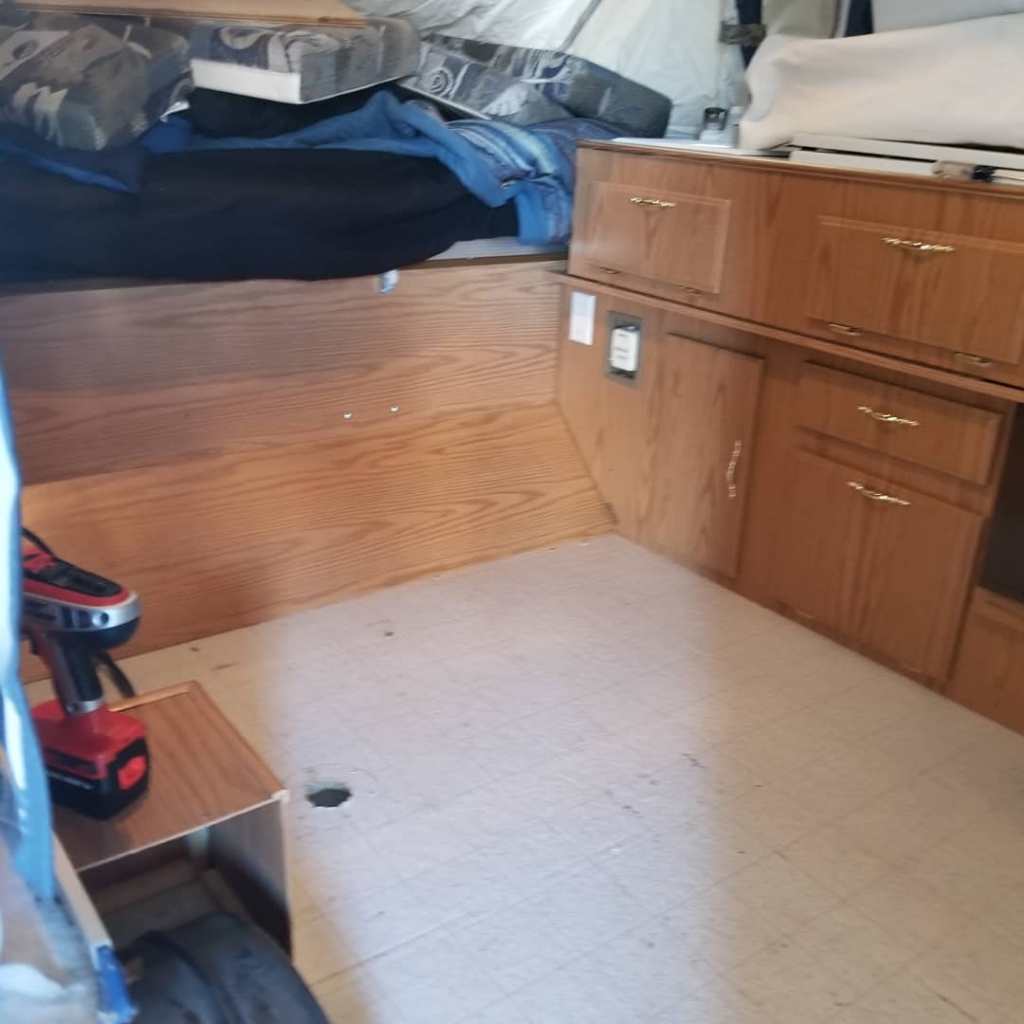
Before…benches are removed 
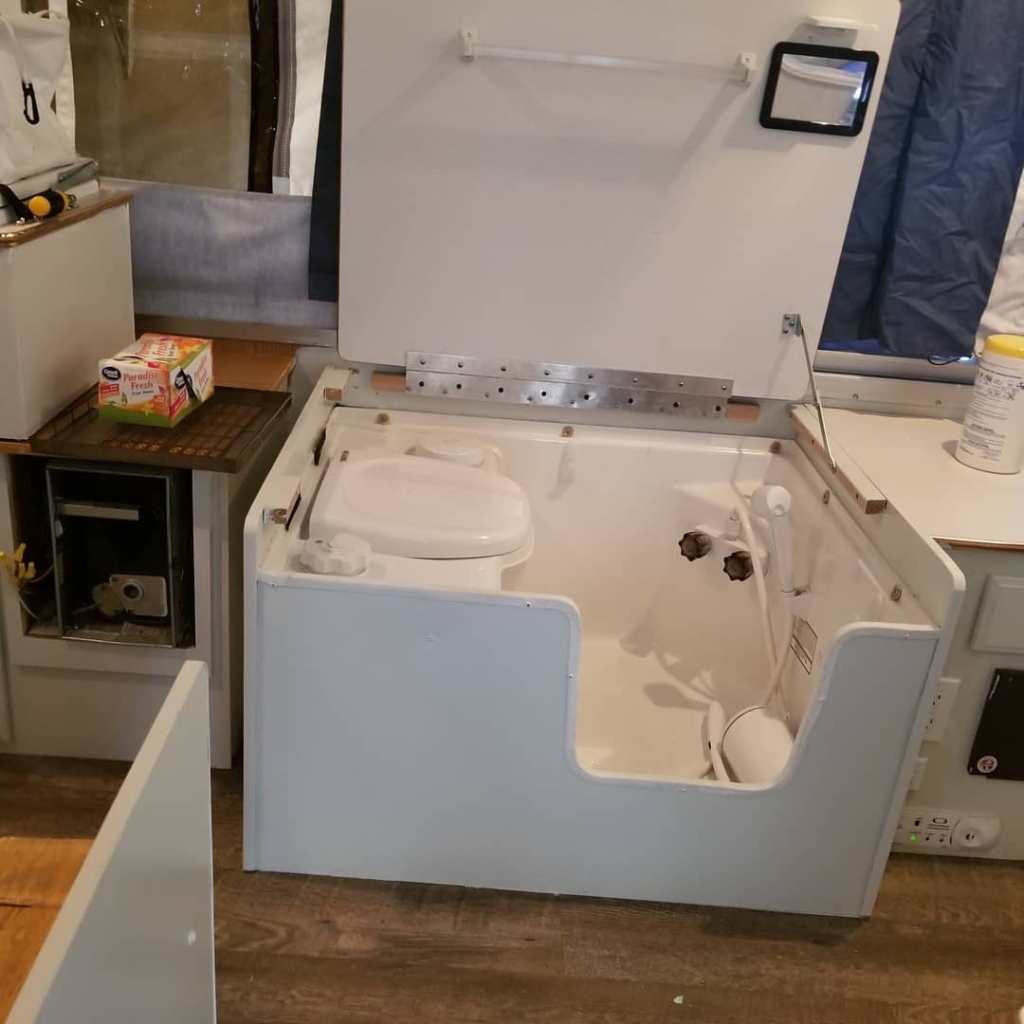
Before 
Before…cabinet doors removed 
During…priming 
During…priming 
During…priming 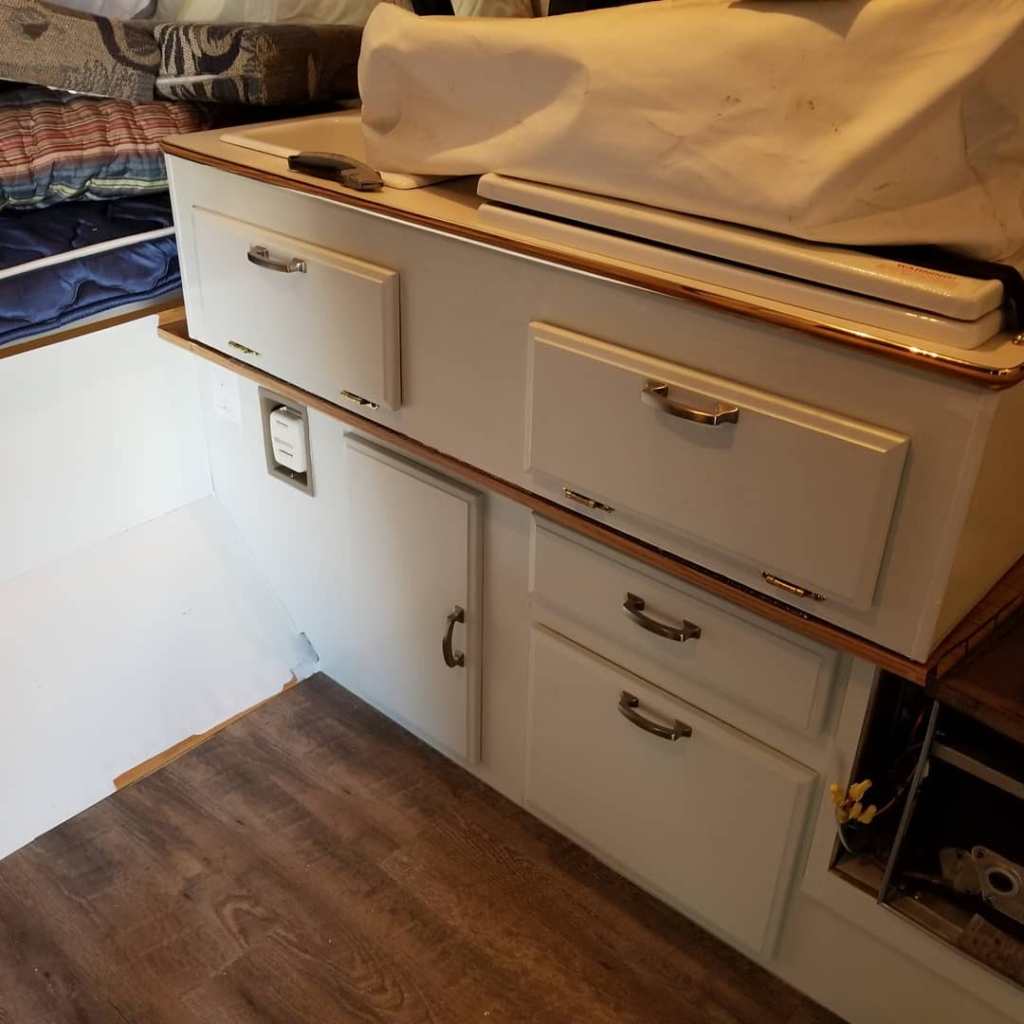
New hardware installed 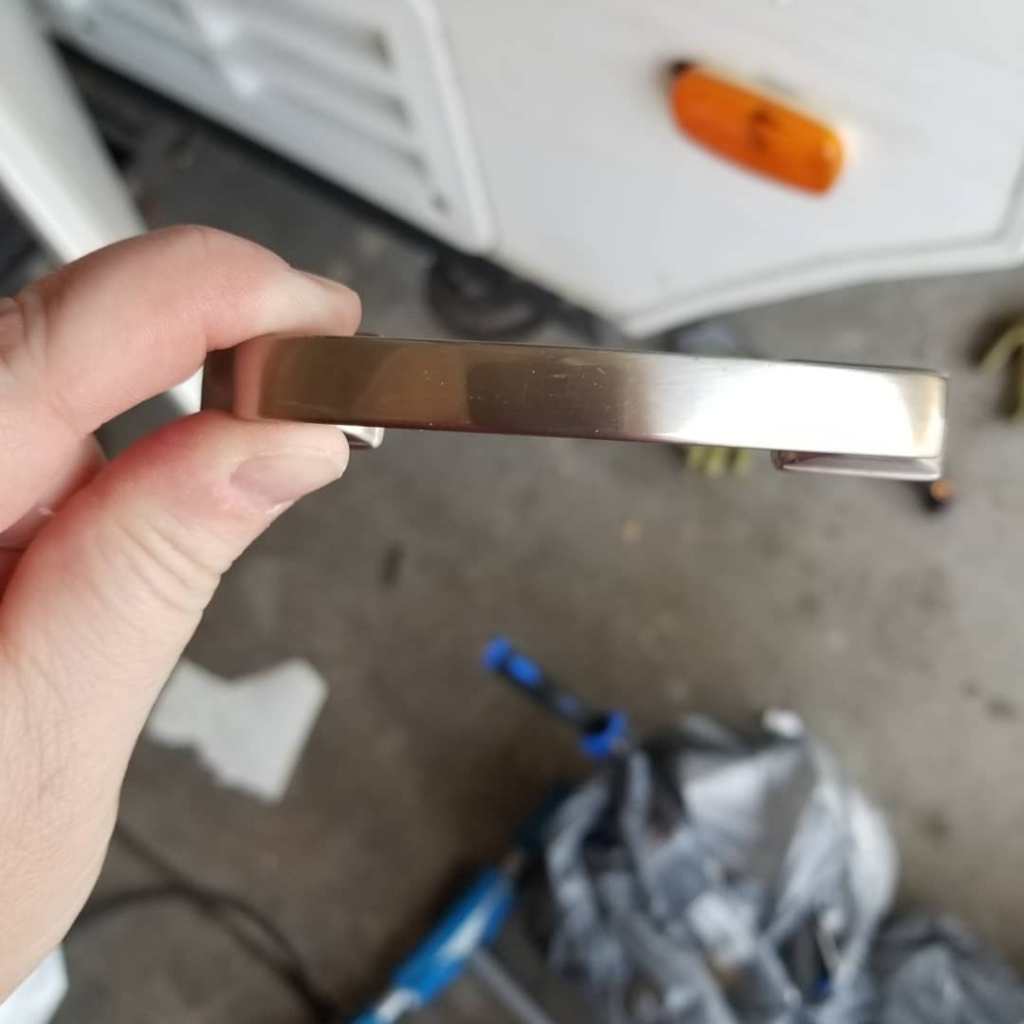
This was the hardware we choose 
This was the paint color we chose
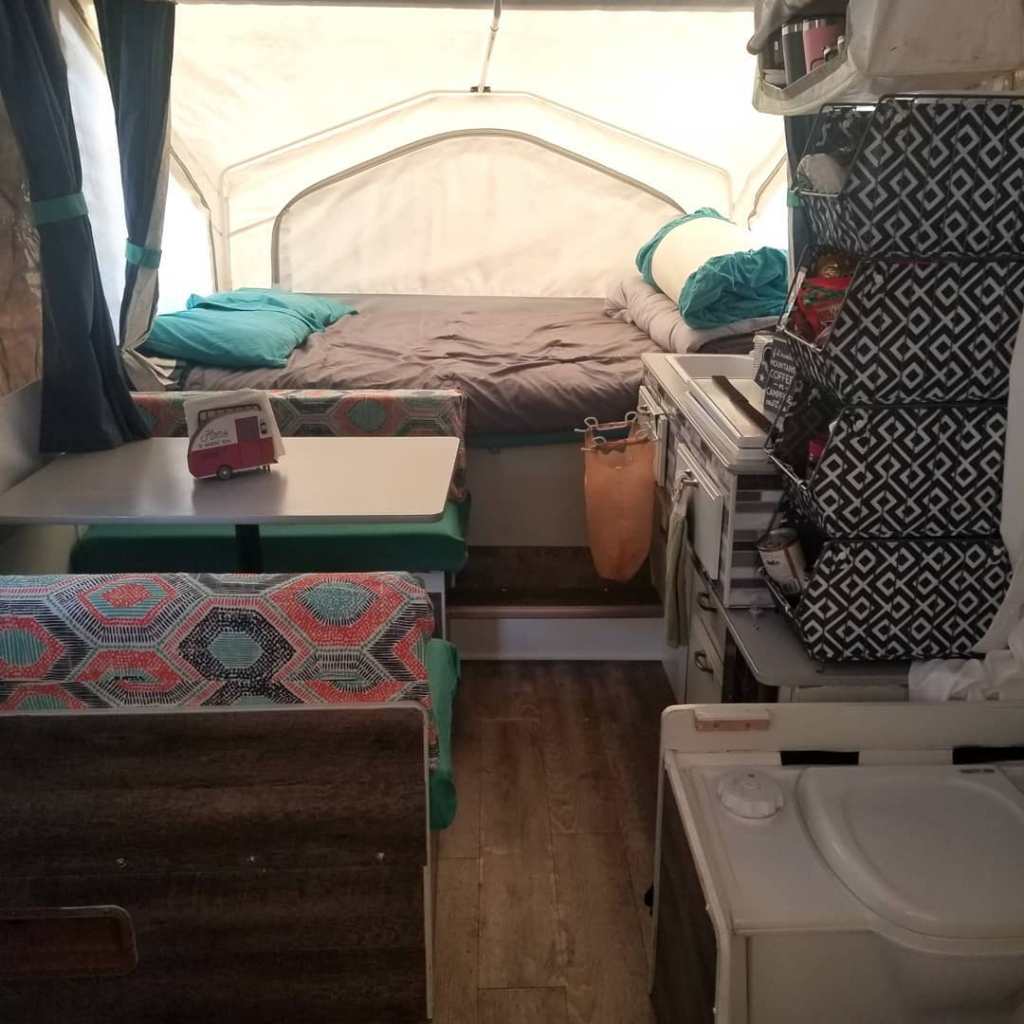
Once the painting was done, we got to work on the floors. We used a peel and stick vinyl plank from Lowes. We went with the Driftwood color, again keeping with the gray tones (https://www.lowes.com/pd/Style-Selections-1-piece-6-in-X-36-in-Driftwood-Peel-and-Stick-Vinyl-Plank-Flooring/999957677). I think we initially got 1 box and it was on clearance, so that was a bonus! This was a little more work than we thought, since nothing seems to be square in the camper! We gave the floor a really good scrub down and then laid the flooring directly on top of the laminate. We added quarter-round to help hide some of the imperfections. Once that was done, back in went the benches and it was time to tackle the fabrics.


Overall, the cushions were in great shape, just not what I was looking for. After doing some research, I decided to keep the current curtains that we had (which are in great shape and went with the overall color scheme). Once that decision was made, I began searching for fabric to cover the seat cushions. I really wanted to add a pop of color here! I found a steal of a deal at Jo-Ann’s. I went with outdoor fabric for the seat bottom cushions in a gorgeous teal, and for the seat backs, I went with a really fun pattern that had the same teal as the bottom cushions and the dark blue of the curtains. I was really excited about this color combo. My amazing friend created the slip covers, along with new tie backs and a valance. Thank goodness for her, I am not even remotely talented enough to sew! I updated all the bedding and voila! Phase 1 was completed.

PHASE 2:
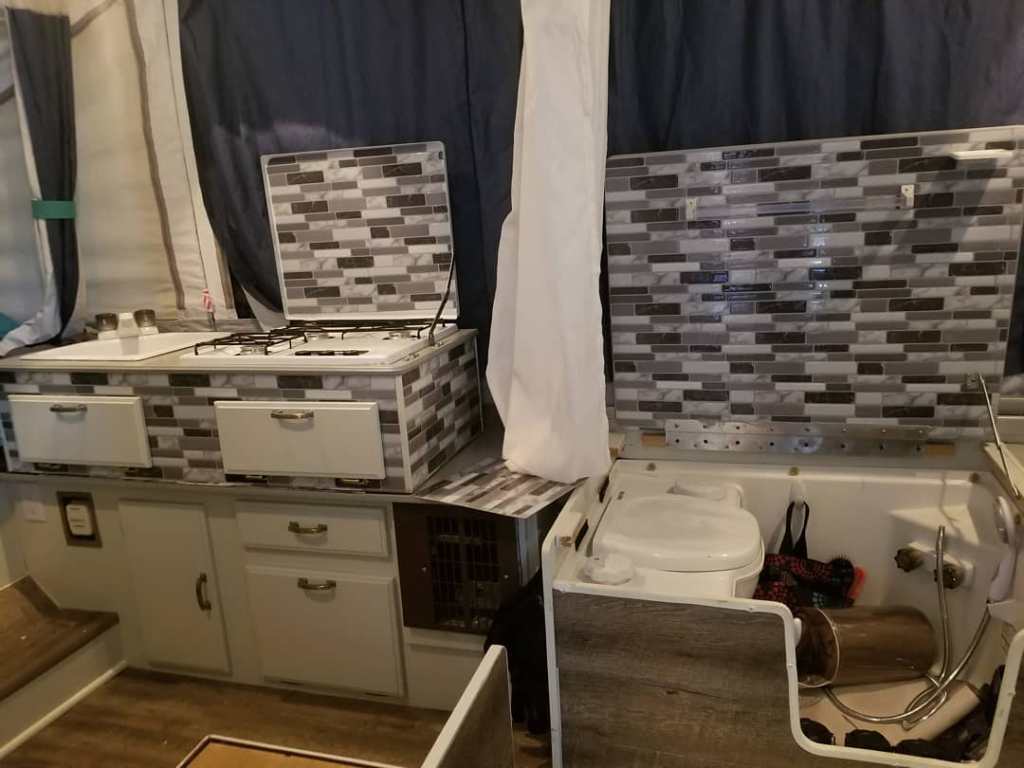
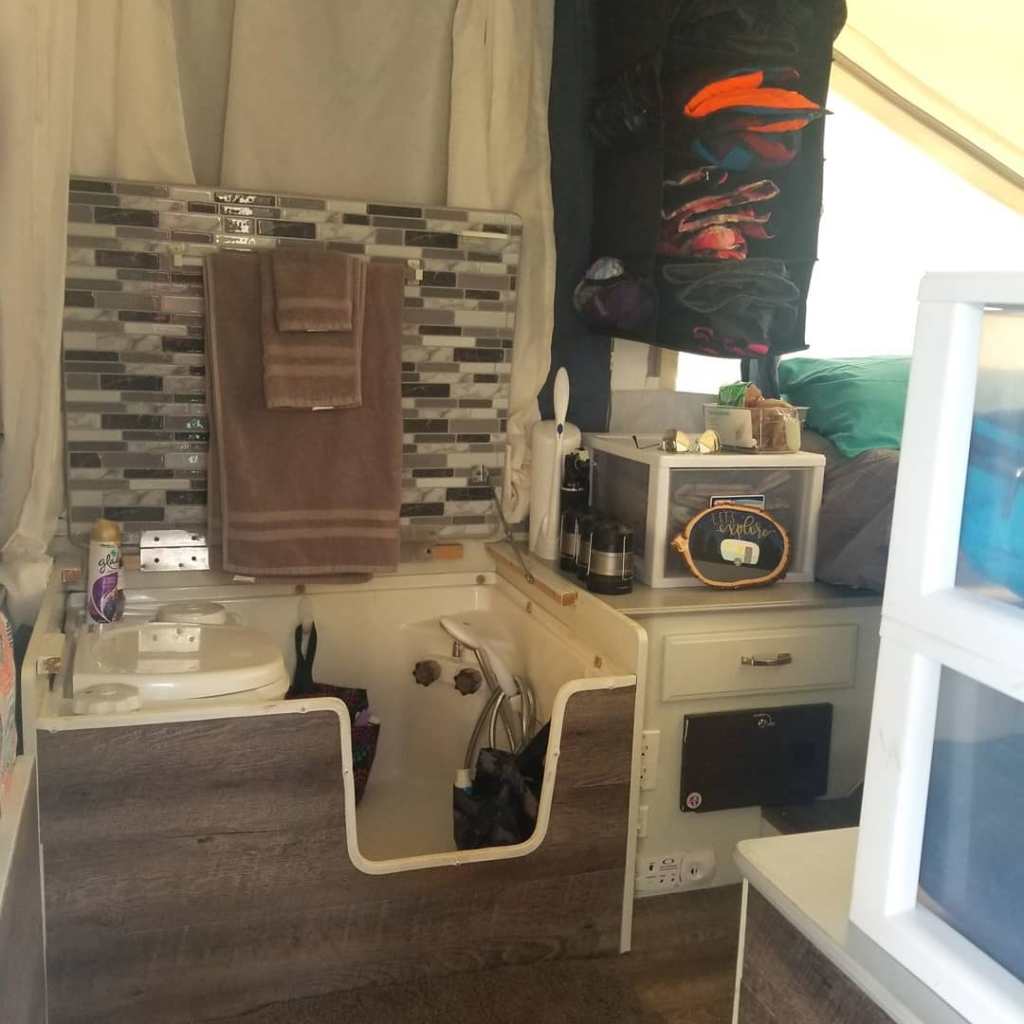
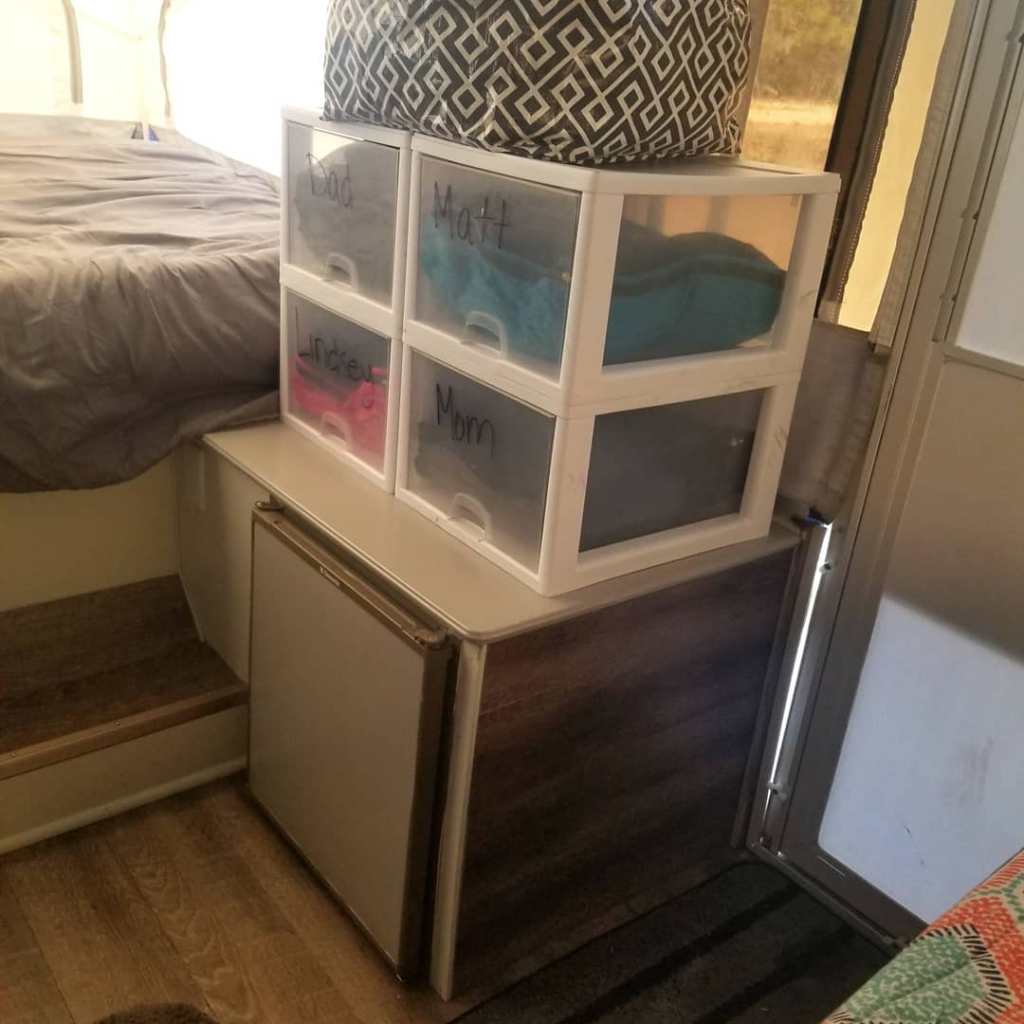
After camping with the new changes, we decided we needed to do a few modifications. We store a lot of things in the camper and noticed that the backs of the benches, front of the shower and sides by the door were really getting beat up. I was not about to have to repaint every year, so Chad and I began brainstorming. We came up with the idea to add more of the flooring to these high contact spaces. To do this, we used liquid nails to make sure the pieces would stay up. The side of the fridge cabinet and back of the bench, along with the front of the shower. We ended up also wrapping the seat benches to give everything a finished look. This has helped a TON! Next, I did a bunch of touch up on the tabletop, and countertops. I think, initially, I did not wait long enough in between coats of paint. Once I had everything touched up and it had dried for 48 hours, I began to re-apply the clear coat poly. This time, I went with 5 coats, allowing 3 hours between applications, as per the instructions. Once that was done, there was still something missing. After looking back through the Pop Up Princess posts, I decided we needed tile accents. We ended up ordering this tile https://www.amazon.com/Art3d-Stick-Kitchen-Backsplash-Tiles/dp/B074J9LHN2/ref=sr_1_5?crid=3G0YNWN0SKQID&dchild=1&keywords=art3d+peel+and+stick+backsplash&qid=1587492384&sprefix=Art3d+%2Caps%2C332&sr=8-5 from Amazon. I was a little nervous buying without being able to see it, but it matches the gray perfectly! We applied it around the sink and stove base, inside the stove cover and inside the shower cover. That was the finishing touch it needed! I added a hanging closet organizer next to our bed to store coats, sweatshirts, etc that we are always looking for.

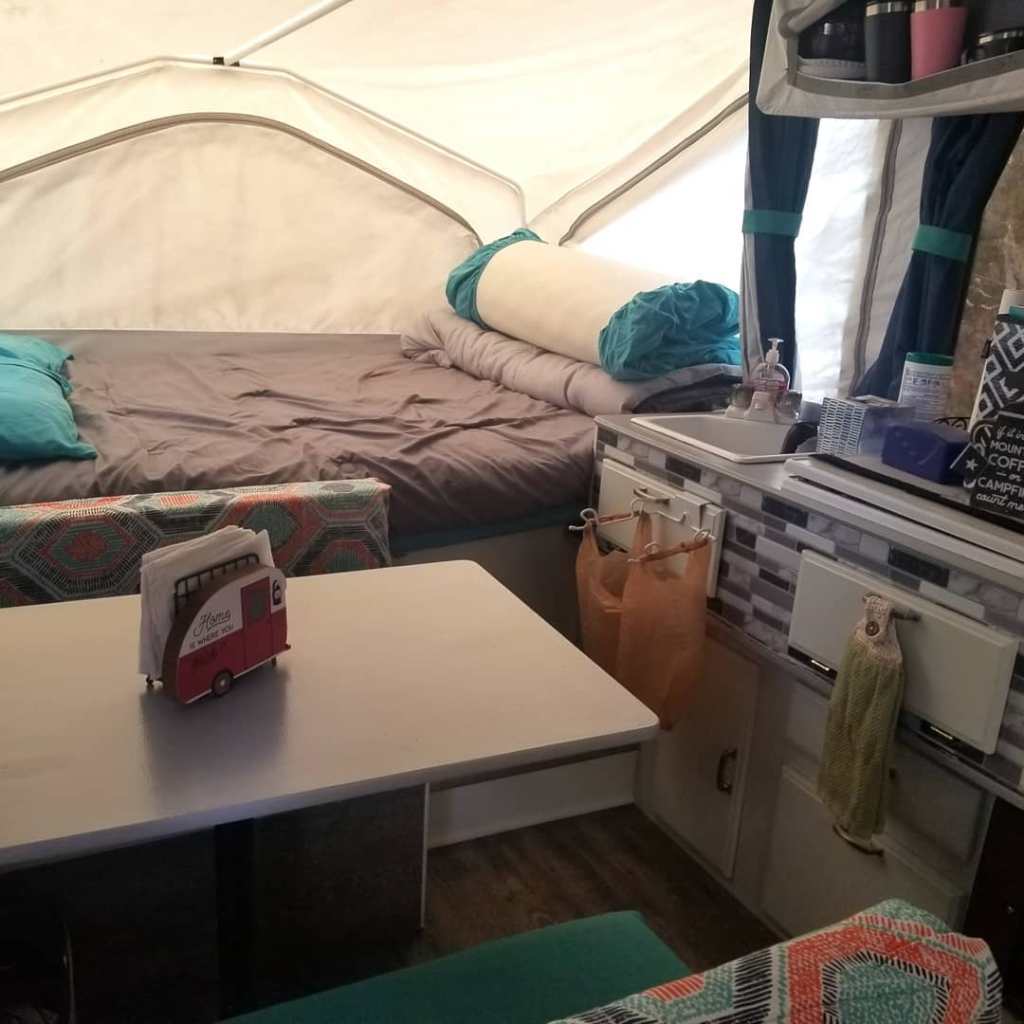

So far, we have used it once since adding the changes, but it has made a huge difference in the durability of the walls and countertops. No more scuffs or dings from storing items during transit (which was making my eye twitch every time we set things up). I love our little PUP! So fresh, clean and into the current decade!

Follow My Blog
Get new content delivered directly to your inbox.
